Purpose
2 Factor Authentication provides an additional level of security by validating user’s identity using an OTP that is generated on the go and made available only to the user
Features
Authorization using OTP.
Two modes available for validation. Either we read the OTP to client or allow the user to enter it and validate.
Validation code can either be passed by client or we can generate it.
We can initiate an SMS with OTP post the call.
Option to repeat the OTP.
Getting Started
3.1 Initial Set Up
Customer will request for this plugin from user plugins section by clicking on “Activate”.
Support team will then get an email notification that the corresponding voice user is interested in the plugin.
Support team will then give permission for this plugin to the user by selecting “OTP” in manage permission section of that user
3.2 Plugin Configuration
Follow the below steps to configure.
Login to your voice account.
Click on User Plugins in the main menu and then select 2 factor authentication (OTP).

Figure 1: User Plugins
Click on Config and select Add new.
Figure 2: Add new configuration
Activate the plugin by checking the status option
Provide a unique Title to the configuration.
Provide a unique Name to the configuration.
There are two modes of verification available- Input and Read
Read: In Read mode, we initiate a call and read out the OTP of the corresponding caller as sent by the client to us via API.
Input: In input mode, we initiate a call and take the OTP as an input from user and validate it with the one sent by client to us via API for the corresponding user.
Verification code can either be passed by the client or we can generate it. Select Auto Generate or Manual as desired. Input and read mode can be used with either of the verification code generation mechanism
Manual - Client will pass the verification code for each user via API.
Auto generate- We will generate the verification code for each user
Key Length: In case of Auto generate mode of code generation, specify the lent of code required. If not specified, default is 6.

Figure 3: configuration
Click on Save
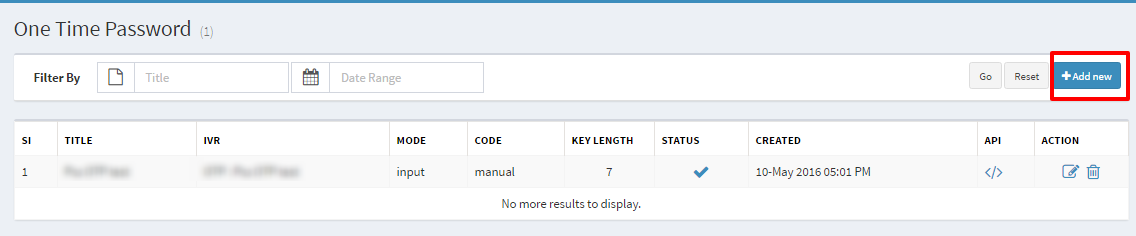
Your configuration then lists under the 2 Factor Authentication section of user plugins.

Figure 4: Edit/delete configuration
You can edit or delete your configuration from here.
3.3 IVR Configuration
Once you save the plugin configuration explained above, an IVR is created in your account
To view/edit the same, follow the below procedure.
Click on IVR Studio in the main menu.

Figure 5: 2 factor authentication IVR
Click on Edit icon under the IVR ASSIGNED TO column and assign a number for your requirement.
Click on
 to duplicate the IVR Flow, in case you want to create a slightly different flow assigned to a different number.
Click on
 to edit the IVR title and delete the IVR flow respectively.
Click on
 to track your customer’s keypress over call.

Figure 6: IVR keypress
Click on Edit icon under EDIT/CREATE CALL FLOW, to edit the default IVR flow created.
3.4 2 Factor Authentication Integration
Click on API Code against your 2 factor authentication configuration.

Figure 7: Get API Code
2 factor authentication API based on the configuration made by you as explained above is listed here. You have both manual and Auto generate API available. Choose the one you want
Copy this API.
Trigger this API with your API key and proper caller and code parameters.
Working
You trigger the API as per your functional requirement.
We receive the message and validation code details.
We then initiate a call to that mobile number and either read out the OTP or allow the user to enter and validate it.
There is also an option for repeating the OTP and send an SMS with OTP post the call
If the user misses the call. He can also call back to the same number to avail the facility
If an unknown number (Number for which data is not available with us) calls on the dialstreet number we will hangup by playing a message “Invalid Request”.
Note: The above flow is created for you by default. You can modify the flow as per your requirement.